Tuesday 30 November 2010

Looking forward to tomorrow!

December tomorrow!!

I'm so excited for Christmas this year. It is Shoshone's second Christmas, but her first where she will have any kind of interest, and Wiyot is at now at the age where he really know's what's going on. He's currently working on his handwriting so that he can do his letter to Santa :D

I can't wait to watch Christmas movies with them this year, decorate the house, play in the snow, go Christmas shopping, see family and friends... And I really can't wait to start logging it all in my December Daily! I'm actually contemplating extending it on to 1st January as my family usually come over for New Years Eve. The following day is the end of the Christmas period for us, so seems appropriate to end the book then... I'll have to see how I get on with the other days first though! 

On the same subject, I still haven't got the printer problem sorted out, so will be a work in progress thing! I got a few ideas of how to get round it though... As for the bindings, I'm just going to leave it till its finished and can see how big it is! The same goes for the cover.

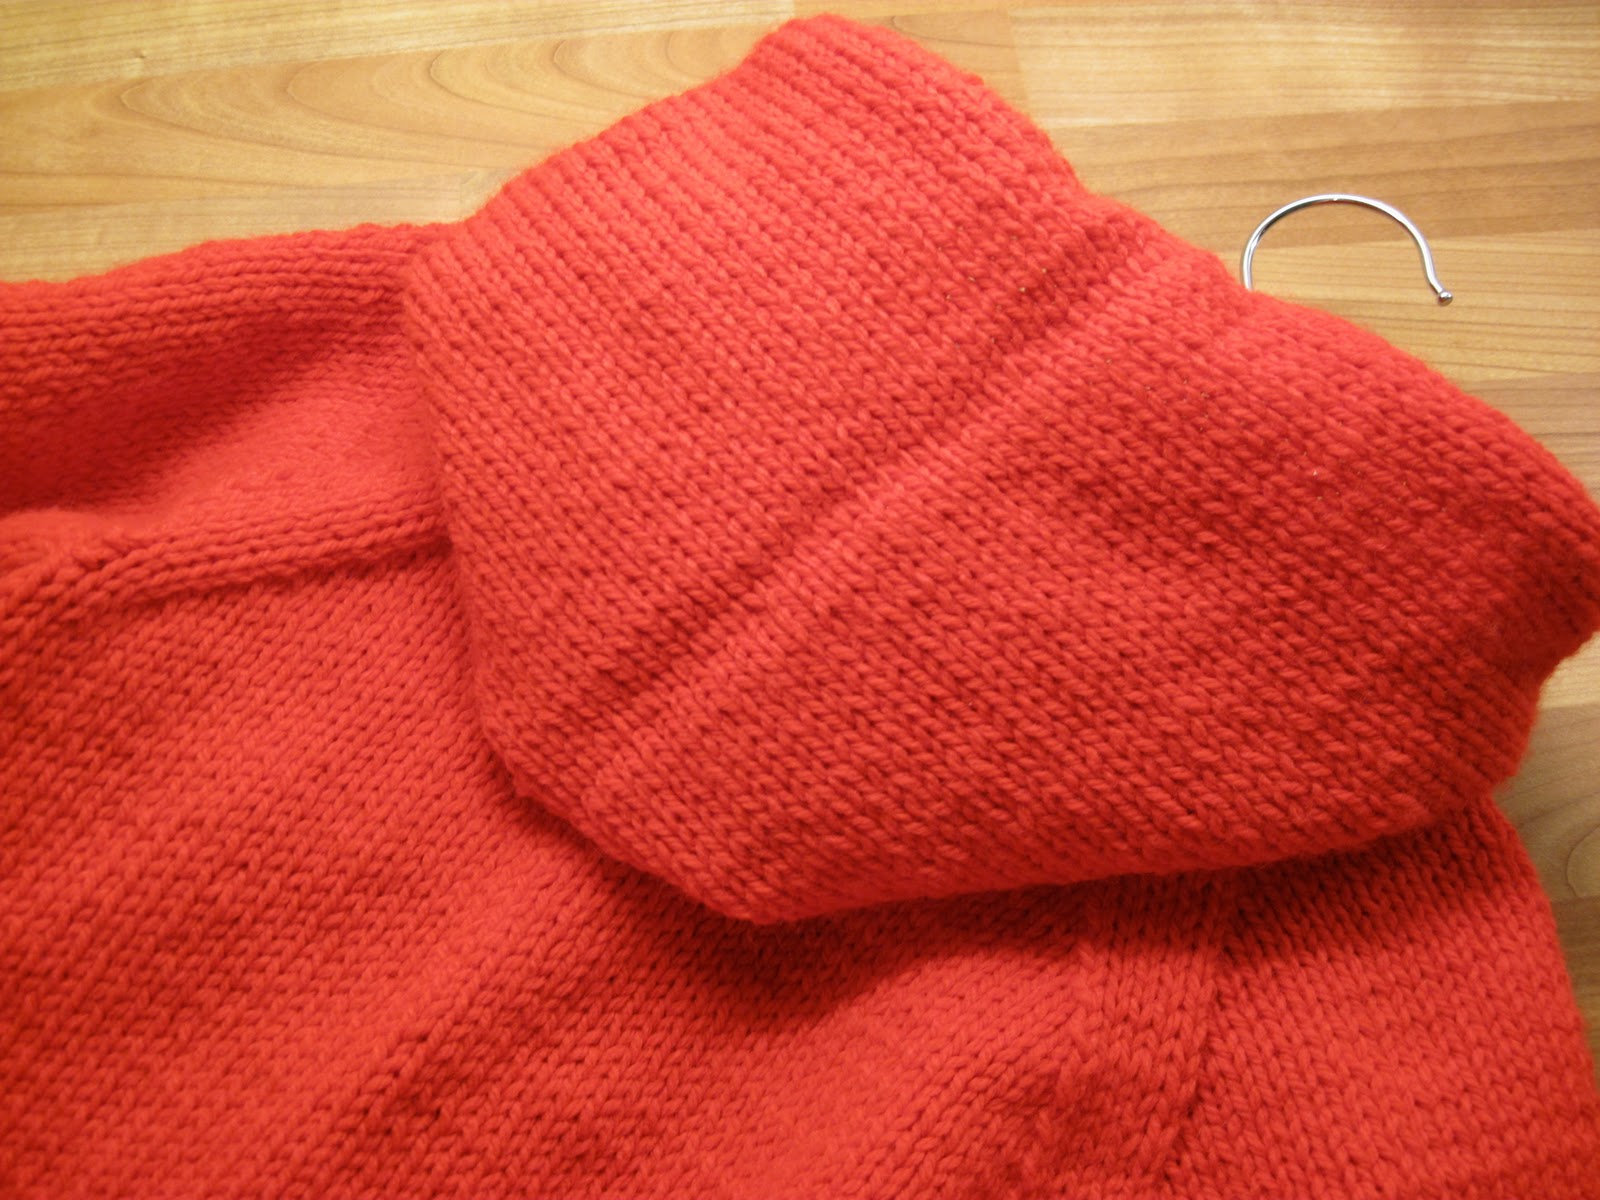
I started knitting a little cardigan for Shoshone on Sunday. I bought the yarn after finishing the red hooded jacket the other week, but have only just started knitting with it :/

It's a pattern from the same book and is like a little bolero style cardigan. For the first time I bought the Debbie Bliss yarn as specified in the pattern, but in a different shade. I usually buy something cheeper as the Debbie Bliss ones are so expensive. For this pattern I needed 4 balls of yarn, costing just under £20...

I could buy I cardigan for that much!!! (I'm a cheep skate I know!) 

But I figured I could do it as a kind of Christmas gift for her and I really wanted to try using the DB yarn as it is so beautifully soft! 

Being rather pricey, thought I'd make the most of the experience :D
Well best go get knitting... especially if I'm going to finish it in time :/

Sending DH into the loft in later to retrieve the advent calendars :D

Roll on December!!!

Tuesday 23 November 2010

Hmmm....

So for the last few days I've been kind of working on my December Daily. It was going quite well, I'd decided upon a page layout, chosen some fonts that I liked, cut my pages to size...

But today it all seems to have gone wrong >:(

I got all ready to print my layout, only to find that apparently my printer doesn't like printing on card. Humph!

Looks like I'll be thinking up a new layout now... Unless DH can coax the printer into doing what I want!

My other conundrum is how to bind the thing when its done. Seems a lot of people use book rings as the completed project is rather large. However, everywhere seems to be out of stock though at the moment :/ Another option would be to use my Bind-It-All but I'm not sure they do wires big enough for the completed project...

So for now at least, my December Daily consists of 25 sheets of unpunched card.... Woohoo!

Sunday 21 November 2010

December Daily!

OK so I'm gonna make a post so that I can't back out!!

I've been having a nose around on other peoples blogs, and noticed that some of the scrapbookers out there are doing whats called a December Daily. For anyone not in the know, like me a couple of days ago, its exactly what the name suggests; a scrapbook where a page is done each day leading up to Christmas Day. You can read about it in more depth at Ali Edwards site.

Well as I've looked into it I'm feeling very inspired to do my own. I like the idea of each page being based around the same layout. So today I've spent some time working on my template. It's not finished yet, but I think I've decided on what I'm going to do. Then I just need to cut the pages to size, print them out and make the cover. Also at some point I'll need to figure out a way to bind it all together :/ Oh well there's time to worry about that later!

Well, thats all for now.

TTFN

Friday 19 November 2010

Day 2 Dolly

So after my practice run with Eve the Sarubobo plush, I decided I wanted to do a more challenging dolly to give to my nan. 

Having perused Mochi's blog the day before, I was quite inspired to attempt one of the other little dolly type characters that she made. Luckily she mentioned that the doll was a bunka doll, giving me something to search for when looking for a pattern. Patterns were pretty hard to locate, but eventually I found this one... it's in Japanese, but the pictures were clear enough for me to figure it out.

Result...

Named Eva by Wiyot 
The dress and hat were made with bits left over from an apron I made my nan last year using fabric by Tanya Whelan. The shoes were from an old bed sheet my mom gave me to practice with, and the rest was scraps of muslin.

Off for a ride
This doll and the Sarubobo were pretty small, easily made with fabric scraps.... Finally something to do with all those bits I've been holding onto!

Thursday 18 November 2010

I should really be in bed right now!!

It's 4:45 am and I'm up doing a blog.... Oh dear :/

Well I just really wanted to share my latest creation.

I'm naming her Eve... well because she's my first one! :)
 It's my nan's birthday on Friday and generally my grandparents prefer it if we don't buy them anything. I hate not giving them anything though, so for the last couple of years I've tried to make things when I can. A mini scrapbook, an apron, etc...

This year the plan was to either do some form of embroidery and put it in a frame that she could then use for a photo, or to make one of these bowls/boxes. I found the link some time last year when someone from the sewing forum shared it. However, only when I came back to find the link did I look at the other projects on the blog... I was there for quite some time looking at all the cute little things my little mochi has made! I particularly liked this little one and decided that this might be a nice little gift for my nan.

Lucky for me, this post had a link to a great tutorial by mairuru.

As you can see the tutorial worked perfectly, so simple to make and fairly quick! After I'd finished the Sarubobo tutorial, I figured I may as well try and add a little face...

I don't know about anyone else, but I think she's cute!
Having not embroidered anything like this before, I'm pretty pleased with the result! It's not perfect but is only a practice run. As you can see I then got a little carried away, crocheting her a little scarf and attmpting to make little hands (one's a little bigger than the other, but who's measuring! lol)

Well, better be off to bed. Tomorrow I'm making the real one... as in the one for my nan :)

Wednesday 17 November 2010

Little Red Riding Hood

I have been working on this knitted hooded jacket for some time now and have been planning it since before Shoshone was born. Well, last night I finally got it finished... although I should probably say "this morning," as it was 4am!

Finished cardigan, with a button from my nan's button stash :)
As soon as I saw this pattern in Simply Baby by Debbie Bliss, I knew I wanted to make it for any potential future daughter... At the time Wiyot was a baby and there were no immediate plans for baby number 2!

Fast forward a year or two... or three? and I began looking for the yarn to make this jacket. Although the picture in the book was really nice, for me this pattern was screaming to be made in RED! After a bit of a hunt I found a suitable aran weight yarn in my local craft store. They had just 3 balls left, lucky for me that was just the amount I needed :D

I quite enjoyed knitting this project, as it was made slightly different to cardigans that I've made previous. In my past knits the two front pieces, the back and the sleeves are all worked separately and then seamed together at the end. However, for this one you start by doing the bits individually and then join them together when you get the the under arms and work the yoke all in one piece. It doesn't seem that weird now, but when I first read the pattern I was quite surprised.

The biggest challenge the pattern posed was the seam joining the hood to the neck. Luckily I had my new found sewing skills to call on, else I think I would have really struggled easing in all the fullness of the hood... especially since there were no instructions as to how to do this in the book :/ Not sure what the usual method of doing this would be in knitting, but I basically ran a line of stitches through the hood, gathered it, matched up the centre hood to the centre back and then did my best at joining the two together... Seams to have worked ok (pun intended!)

The seam where the hood joins the back of the jacket
When I first began knitting I hated it when all the knitting was done and I had to start joining all the pieces together, I found it a real chore and frequently abandoned the project at this point to begin knitting something else... very sad I know! Now I actually enjoy doing the seams and am getting much better at them... and quicker! Think they turned out pretty well on this one, fairly invisible in most places. Still not quite happy with the one along the top of the hood though. It turned out better than the one on the poncho, but still not as invisible as I would like... Any tips would be gratefully received!

The seam along the left side of the jacket, along the arm and in the underarm area
The hood seam, can see the depression when the two sides are joined and there is a bit of bulkiness on the inside
Well now the little red hooded jacket is done, so I guess it's time for my mom to start looking out for the wolves... and not the Wolverhampton Wanderer kind she usually watches!

Shoshone with her favourite book


Monday 15 November 2010

Sewing / crafting spot!

HEEELLLLOOOO!!!!

Is anyone still there??? 

Ok, so its been a while... well ok, its been AGES! But I'm back now and hopefully will be able to keep up this blogging stuff more regular!

So, although I've not posted anything, I've still been making stuff... Superhero costumes, cards, cardigans, a dress, various alterations and quite possibly other stuff that I can't think of right now!

This post is not concerning one of those makes, rather the birth of my new crafty corner :D 

It's not called that... at least I don't think it is? It's just a corner of our living room that I have decided to use for my hobbies. It's not done yet, just put my sewing machine on the sideboard and declared it to be mine! I'm hoping that in time it will be a beautiful workspace, inspirational yet practical, something comparable to spaces I've seen on other blogs and in magazines... just google "craft room ideas" and you'll get the impression of what I'm after. Here is a link to a blog, with many different tips and ideas, check out the link at the bottom of the page to "Beautiful Craft Rooms." I love Connies Idea of desplaying her scrapbook layouts...

I seriously doubt my space will be anywhere near as elaborate as these, for one it still has to fit in with our lounge... but still some lovely ideas. I especially love the look of all the ribbons on rods, the colourful yarns and threads in storage jars and all the pretty folded fabrics waiting to be used... Ah just dreaming of my potential future workspace is making me feel creative! 

Well I'm off now, but hopefully will be back soon to share some of my 2010 makes...

TTFN x